SYEP Help - Youth
Topics
Adding a new Youth
Editing a Youth
Adding Youth Employment
Edit Youth Employment
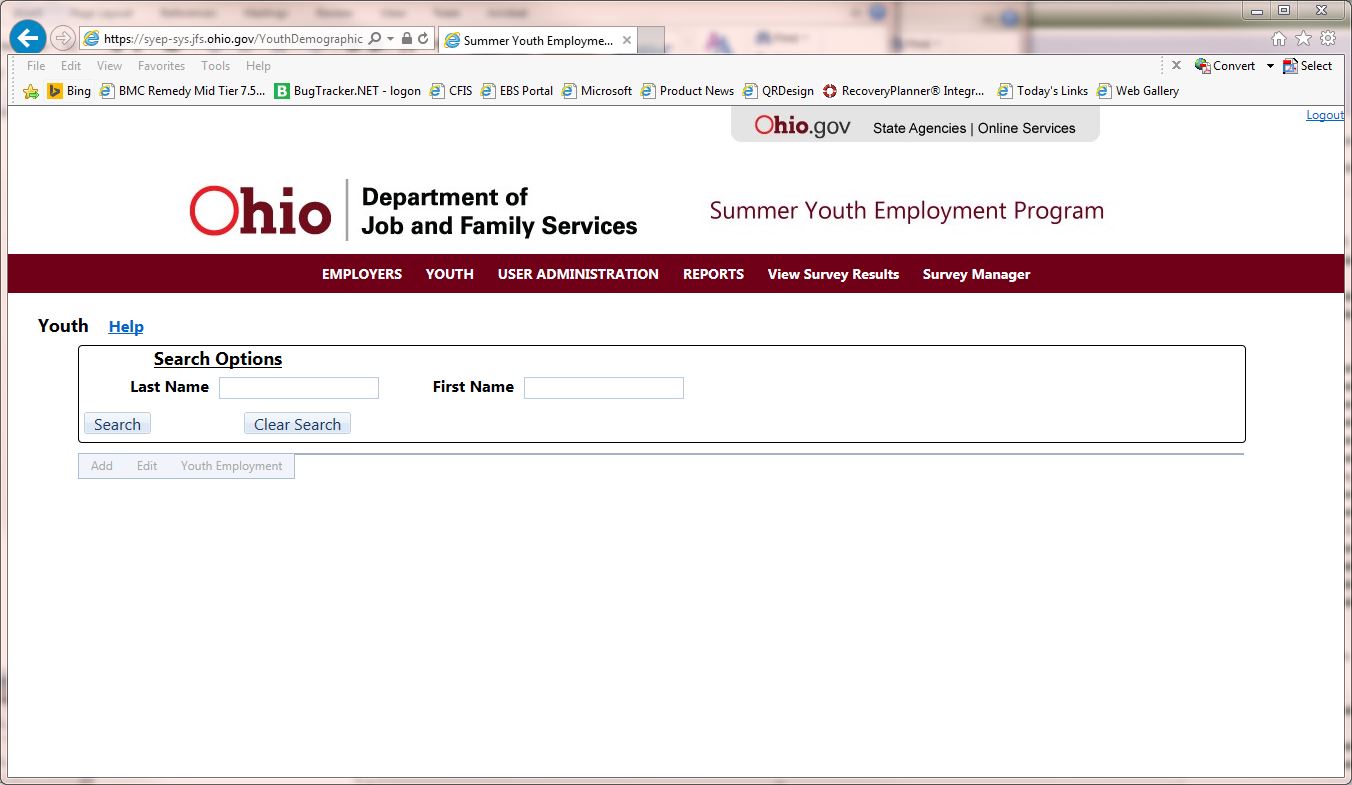
To access Youth maintenance, click on the
YOUTH link in the menu. The Youth maintenance page will be displayed (see image below).
Adding a new Youth Top of Page
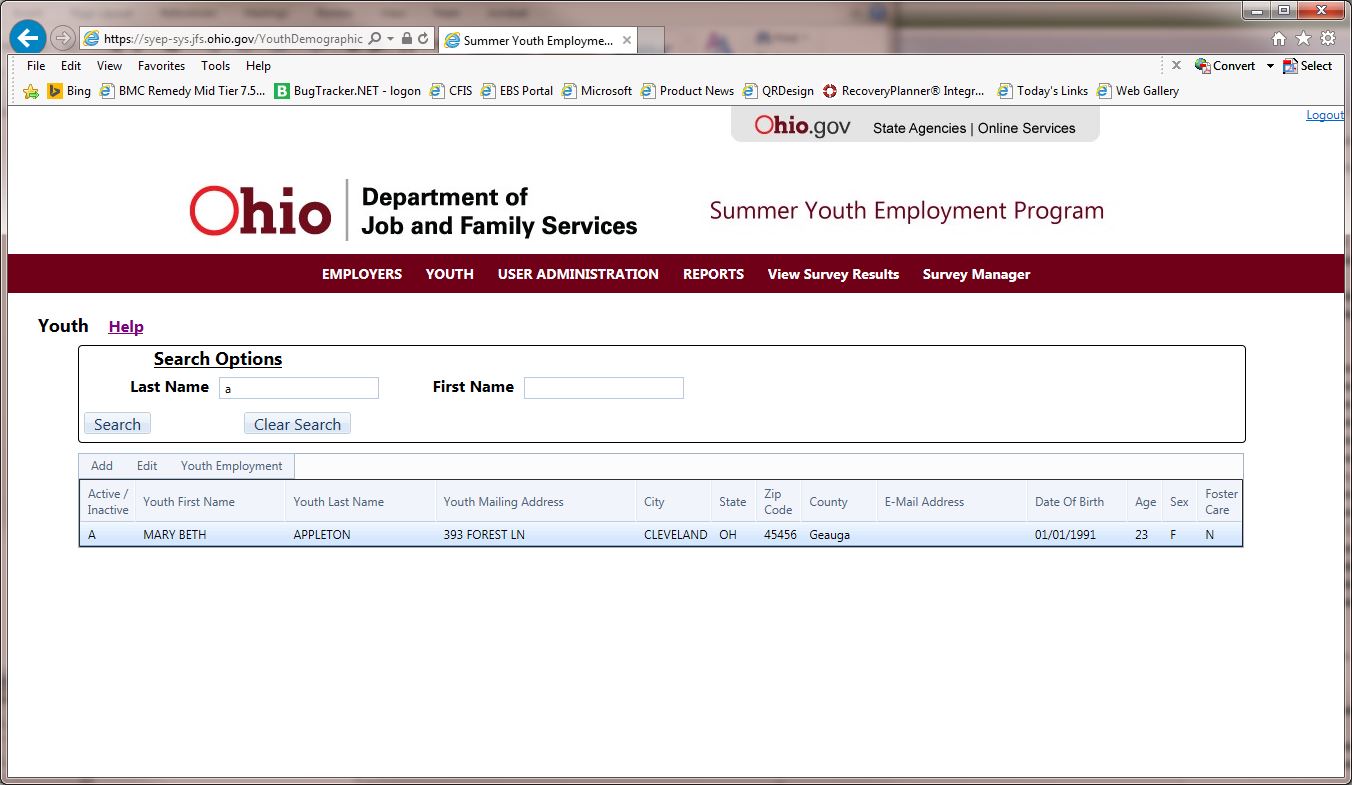
Before adding a new youth, you are required to search for the youth to ensure they are not already in the SYEP system. To search for a youth, enter all or part of the youth’s first and/or last name and click the Search button. A list of youth matching the search criteria will be displayed (see image below).
If the youth you are adding is not in the search results list, you can add the youth by following these steps:
Step 1. Click the add button at the top of the youth grid.
Step 2. The Add Youth page will be displayed (see image below).

At a minimum, you must enter all fields that are marked as required. Required fields are indicated with a red asterisk (*) in front of each field.
| Active/InActive | Read Only. This value is determined based on whether the youth is employed in the current period. |
| Youth First Name | Enter the first name of the youth. This is a required field. |
| Youth Last Name | Enter the last name of the youth. This is a required field. |
| Youth Mailing Address | Enter the youth’s mailing address. This is a required field. |
| Youth Mailing Address 2 | Enter the second line of the youth’s mailing address if needed. |
| City | Enter the city where the youth resides. This is a required field. |
| State | Enter the state where the youth resides. This is a required field. |
| Zip Code | Enter the zip code where the youth resides. Either 5 or 9 digits. This is a required field. |
| County | Enter the county where the youth resides. |
| E-mail Address | Enter the youth’s email address. |
| Date of Birth | Enter the youth’s date of birth. This is a required field. |
| Age | This field is read only and will be calculated, based on the date of birth, when the record is saved. |
| Sex | Enter the youth’s gender. This is a required field. |
| Youth in Foster Care | Select yes if the youth is in foster care. This is a required field. |
| Unique Participant ID | Enter a unique participant id for this youth. This is a required field. |
Step 3. Once all of the required fields are entered, click the Save button to save the youth information.
You can cancel the add by clicking the Cancel button.
Editing a Youth Top of Page
Step 1. Search for the youth based on first and last name.
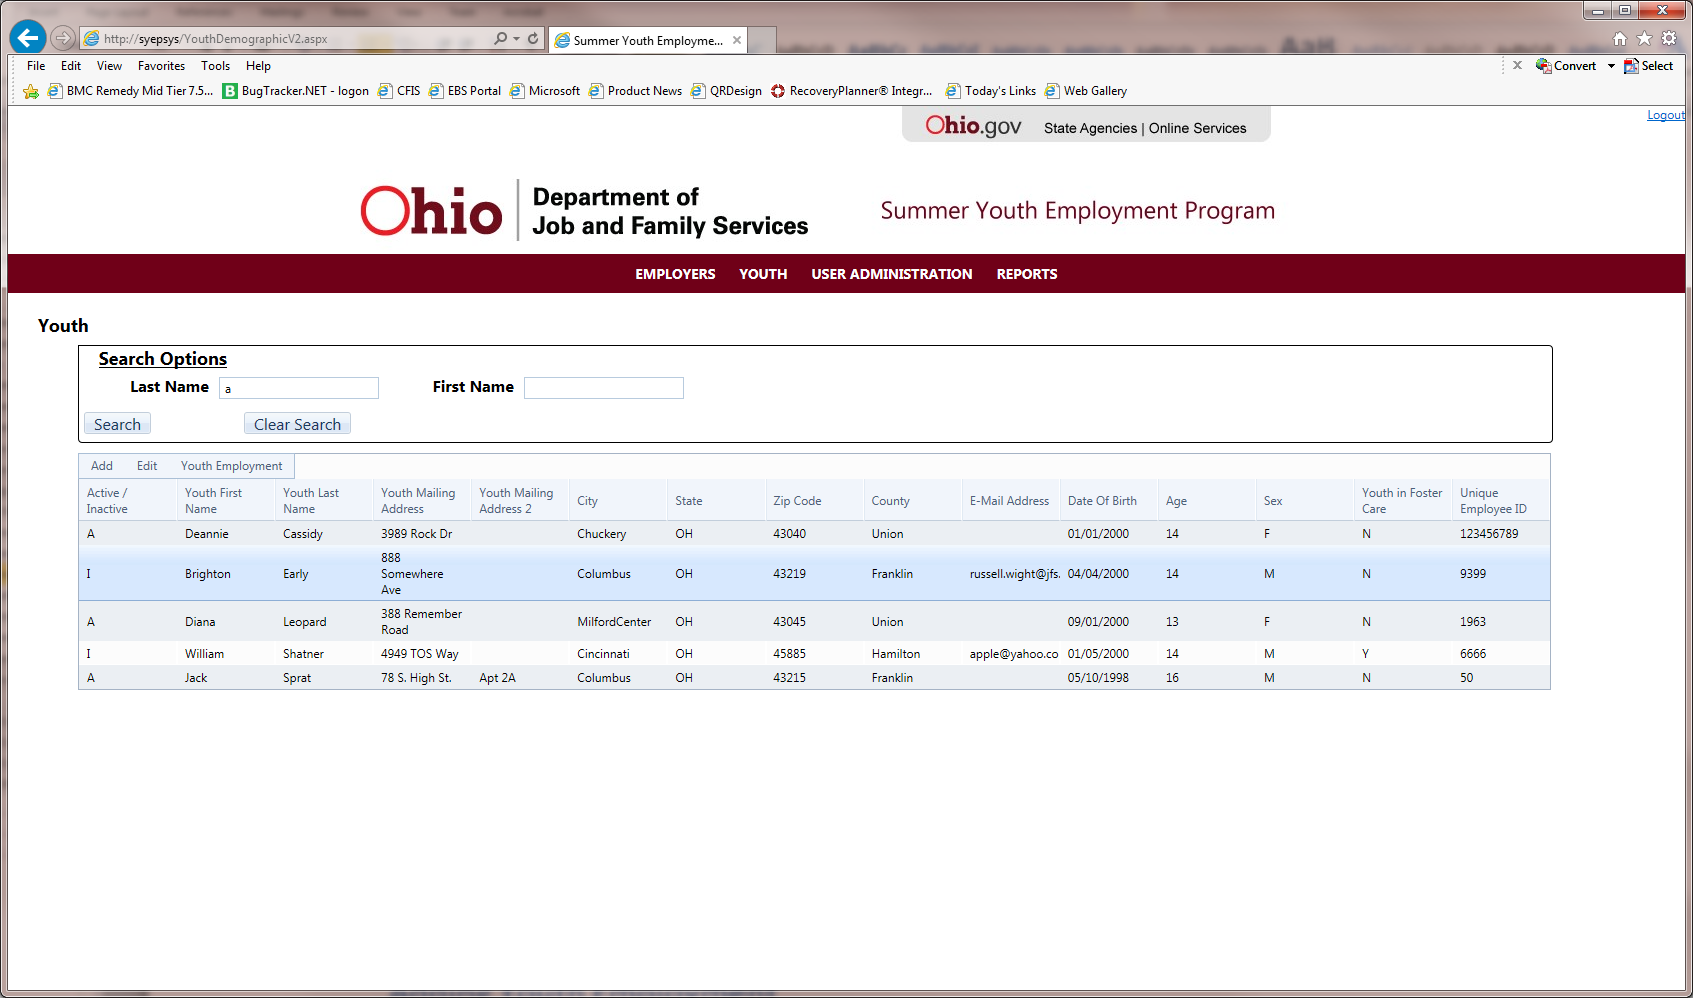
Step 2. Click on the row of the youth you want to edit (see image below).
Step 3. Click the Edit button at the top of the grid. This will take you to the youth edit screen.
Step 4. Modify the fields as needed.
Step 5. Click Update to save the changes.
Step 6. Click Cancel to discard the changes.
Adding Youth Employment Top of Page
Step 1. Select the youth in the search grid and click on the Youth Employment button at the top of the search results grid.
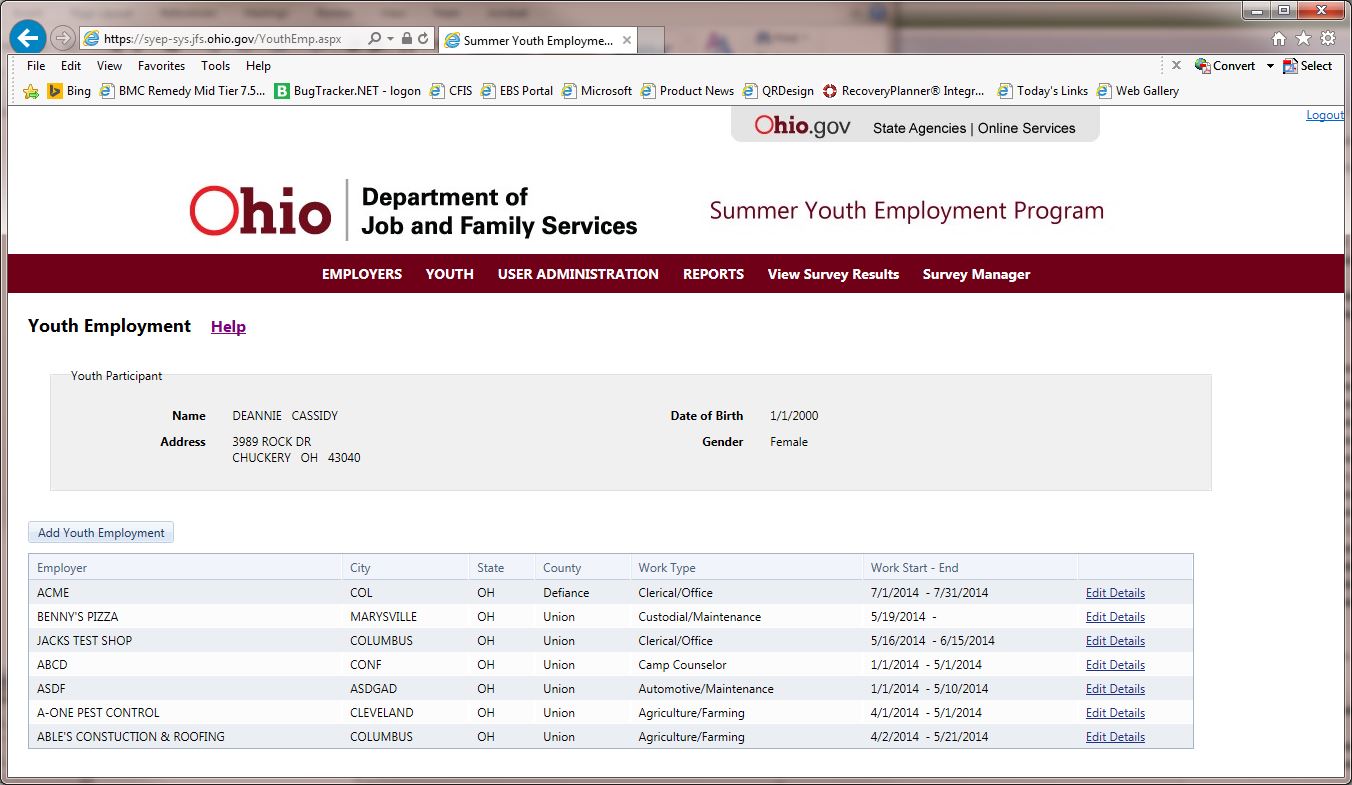
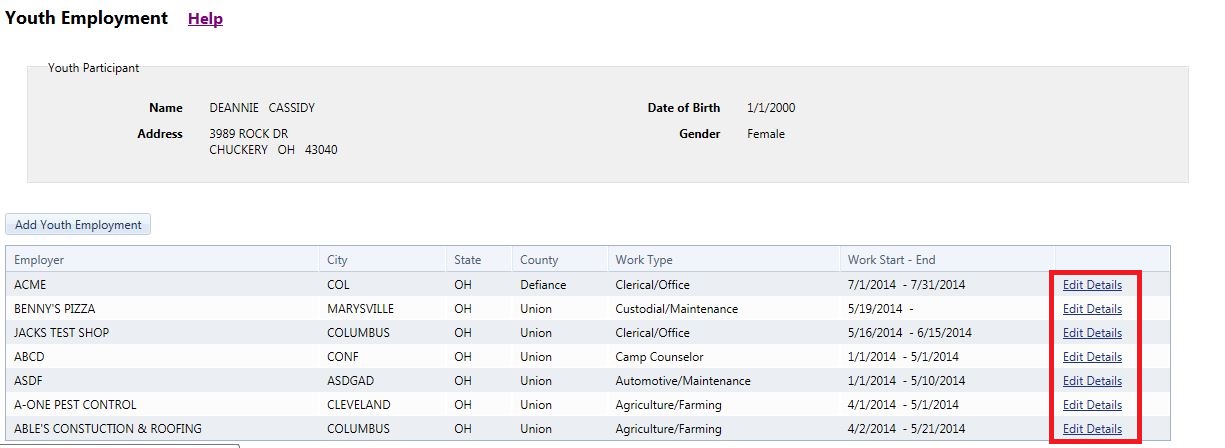
Step 2. The Youth Employment page for the selected youth will be displayed (see image below).
Step 3. Click the Add Youth Employment button to add new employment for this youth. The Add Youth Employment page will be displayed (see image below).
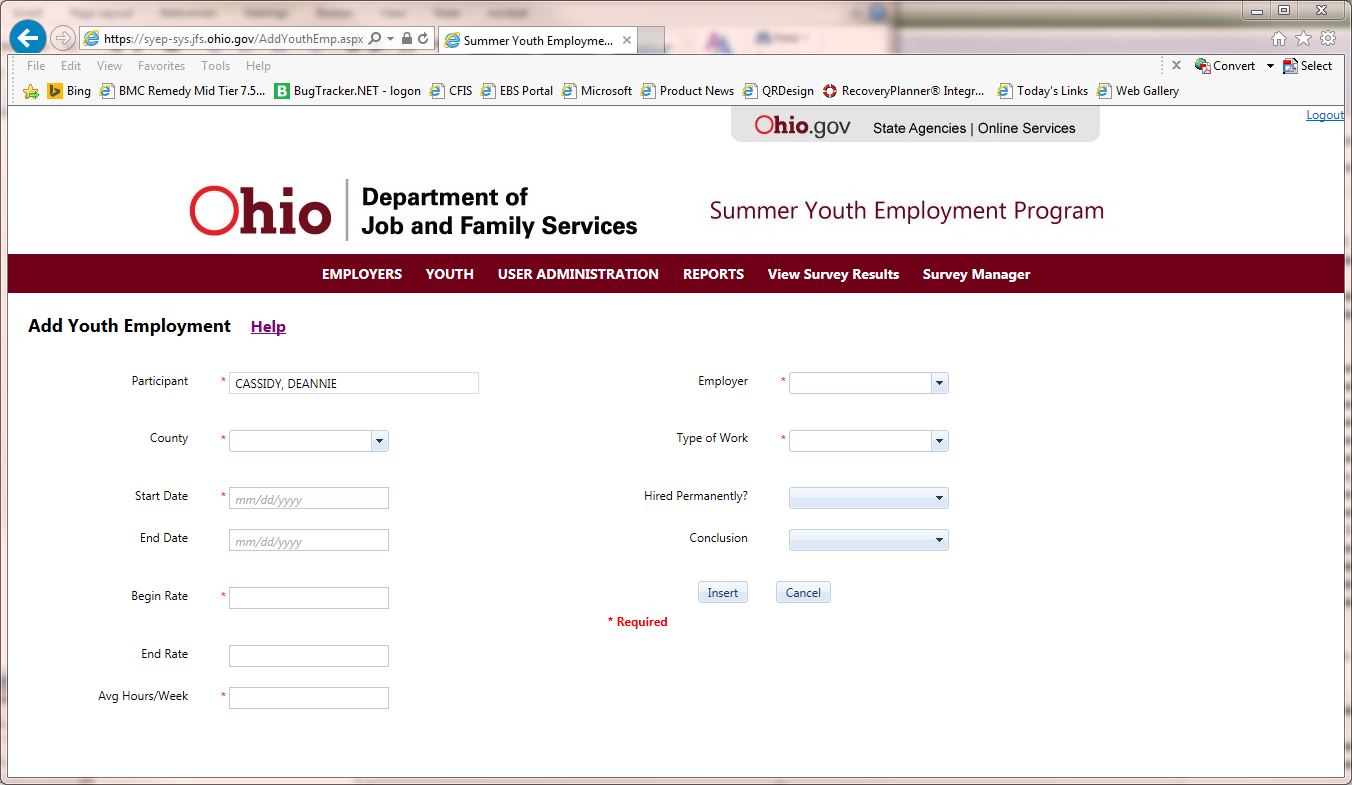
At a minimum, you must enter all fields that are marked as required. Required fields are indicated with a red asterisk (
*) in front of each field.
| Participant | Read Only. This field will reflect the youth for whom you are adding employment. |
| County | If you are a county level user, this field will default to the county you represent. Otherwise, select the appropriate county from the list. This is a required field. |
| Start Date | Enter the youth's employment start date. This is a required field. |
| End Date | Enter the youth’s employment end date. |
| Begin Rate | Enter the beginning pay rate for the youth. This is a required field. |
| End Rate | Enter the ending pay rate for the youth. |
| Avg Hours/Week | Enter the average number of hours the youth works each week. This is a required field. |
| Employer | Select the employer for whom the youth works. This is a required field. |
| Type of Work | Select the type of work the youth is doing. This is a required field. |
| Hired Permanently? | Indicate whether the youth was hired permanently. |
| Conclusion | If the youth's employment is concluded, select the appropriate conclusion. |
Step 4. Once all of the required fields have been entered, click the Save button to add this employment.
Cancel adding the employment by clicking the Cancel button.
Editing Youth Employment Top of Page
Step 1. On the Youth Employment page, click on the Edit Details link in the grid on the employment row you want to edit (see image below).
This will take you to the Edit Youth Employment page.
Step 2. On the Edit Youth Employment page modify information related to the youth’s employment as needed (see image below).
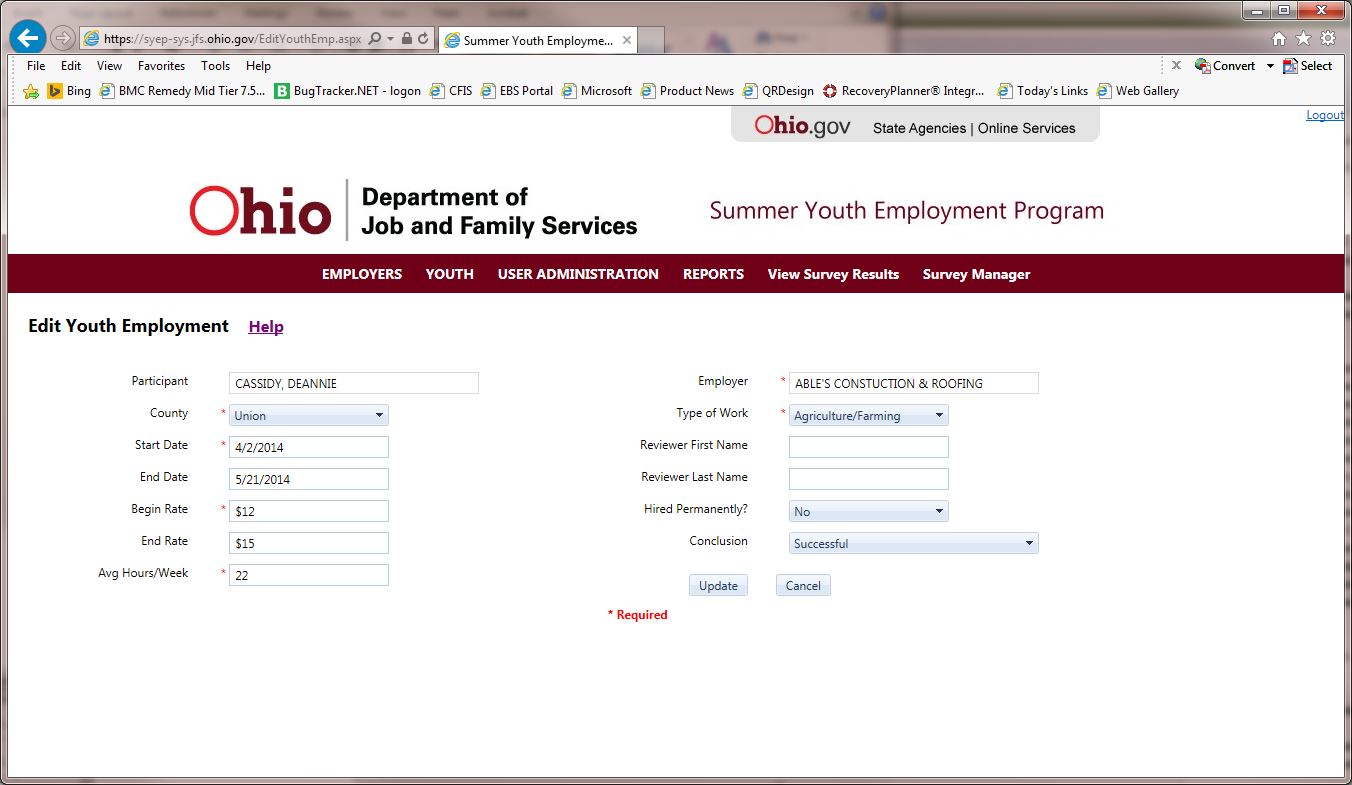
Step 3. Click the Update button to save the changes.
Cancel changes by clicking the Cancel button.